Showing posts with label Flax Seeds. Show all posts

Thursday, June 2, 2011

The Bread Sings Again: Tartine Style


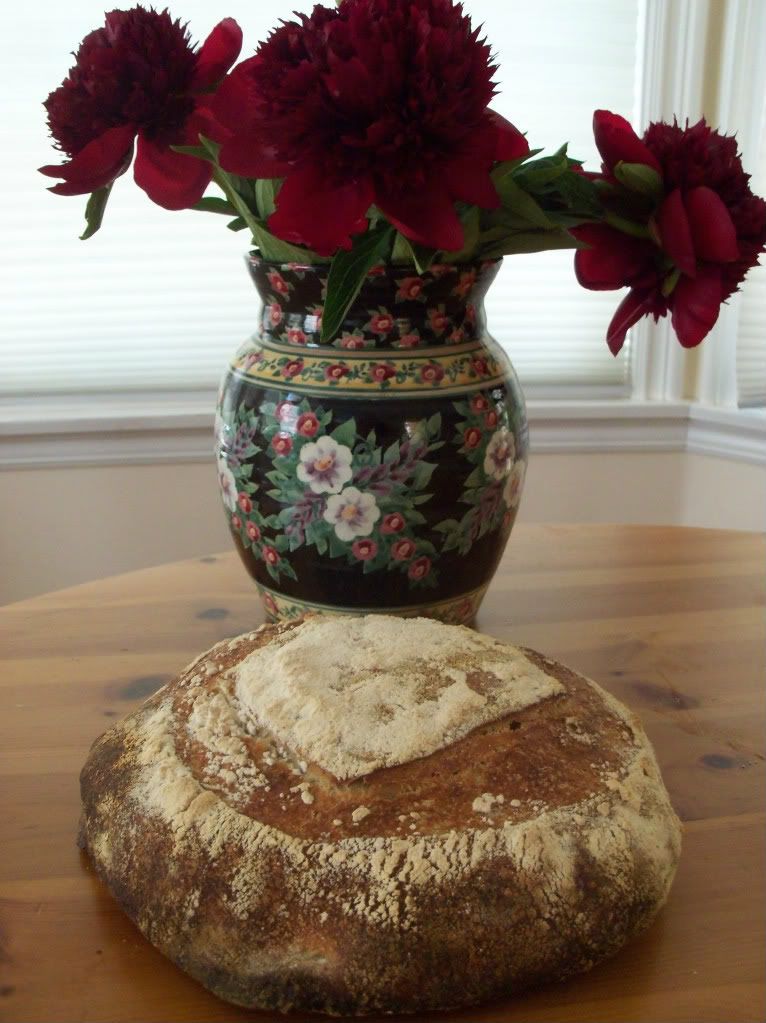
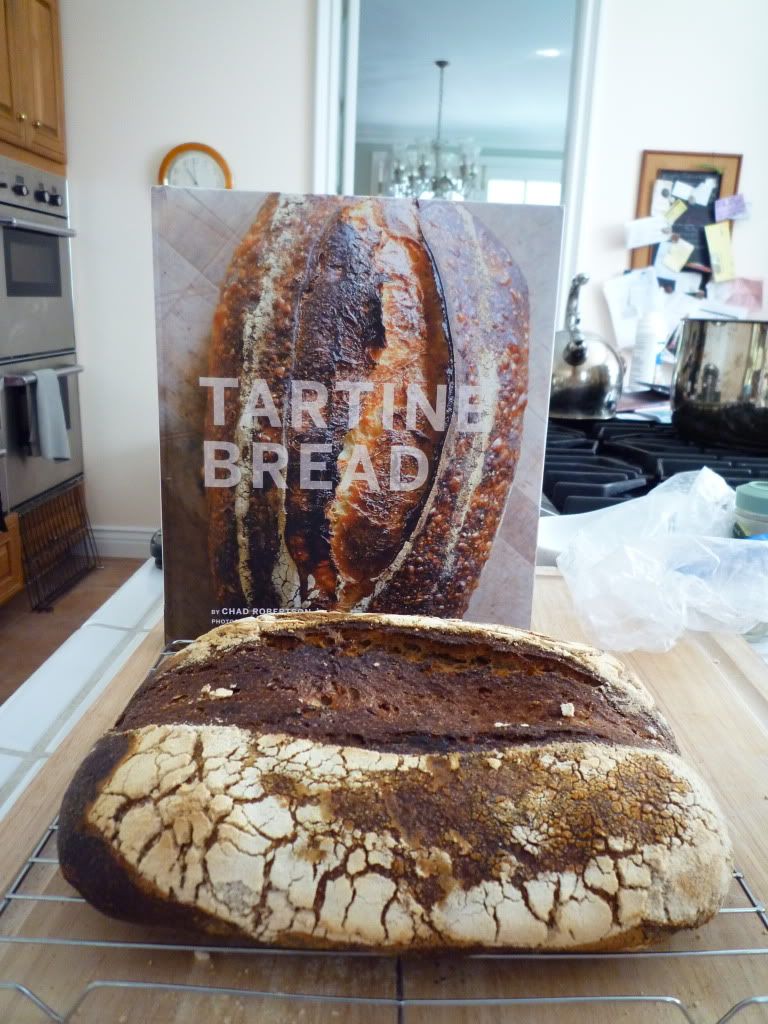
One of the indications of bread perfection is "the song of the bread" or the bread crust crackling as it hits the cold air coming out of the oven. I have only achieved this once, when my Pain de Campagne was slightly over-proofed during the first fermentation. Once again, somehow, I slightly over-proofed a loaf of Tartine Country Bread during the initial rising period. The bread sang. It was wonderful. It was light and fluffy and tasted amazing. It did not have the irregular crumb that usually characterizes Tartine loaves (as the bulk fermentation was too long), but it's pretty good.
Crust
Crumb
I also made a version of what I have begun to call my "breakfast bread" which is the 70% Whole Wheat Tartine bread with flax seeds and steel-cut oats.
Over-proofed dough.
I hope the whole wheat one is decent.

Saturday, May 21, 2011

Whole Wheat Bread with Oats and Flax Seeds

Wheat Bread with Steel-Cut Oats and Flax Seeds
Let me just say that this bread is fantastic! There is the lovely wheat flavor of the 70% Whole Wheat Tartine Bread and the added flavor of flax seeds and steel but oats. Even my father (who is not the same devotee of whole wheat bread that I am) said that there was "that special something" that added something fantastic to the flavor. I agree. It's fantastic.
Crust
Nice Ear
 Next time, I would add a little more water to ensure the crumb was more open.
Crumb-- not quite as open as I wanted.
 Ingredients

  • 100g Leaven (see instructions)
  • 400g +25g water (75 degrees F)
  • 150g unbleached all-purpose flour
  • 350g whole wheat flour
  • 10g salt
  • 1/6 cup flax seeds
  • 1/6 cup steel cut oats
The Leaven ("young" starter)

  1. Take 1 tablespoon of mature starter and put it in a small bowl.
  2. Add 50g water (about 75degrees F) to the starter.
  3. Then add 50g whole wheat flour and mix them into the water and starter until it comes together as a dough.
  4. Cover the bowl with plastic wrap or similar and let sit until it passes the float test. This should take about 12 hours. When it is ready, it should smell very sweet-- like overripe fruit.
  5. There will probably be 10-20 grams left over.
The Final Dough

  1. Mix 100g of starter (this should be all of it) with the 350g water.
  2. Then add the 500g of flour and mix until the dough comes together.
  3. Cover the dough with plastic wrap or equivalent and let rest (autolyse) for 45-50 minutes.
  4. After the autolyse, add the salt and the last 25g of water in a little bit at a time, using the water to help the salt dissolve and incorporate into the dough. Make sure that you pinch the dough around the salt and incorporate it throughout the dough.
  5. Move the dough into a heavy glass or plastic bowl, preferably a deep on with a fairly small diameter on the opening in order to keep the heat in.
  6. Toast some flax seeds and let them cool.
Directions
  1. Stretch the dough and bring it in toward the center like this. Be careful not to degas the dough too much. Do this all the way around the dough to make sure that you develop the dough evenly.
  2. Place the dough in a place between 78 and 82 degrees F. You can improvise a proofbox by placing a pot of boiling water in an unheated oven beside the dough.
  3. After 30 minutes, stretch and fold the toasted flax seeds into the dough. Incorporate them a few into each fold.
  4. Repeat the stretch and fold this procedure every 30 minutes for 3-4 hours. As the dough rises, be more careful not to degas the dough. The dough should become very billowy on top.
  5. When the bulk rise is complete, turn the dough out onto a floured surface.
  6. Fold the dough in half so that the outer surface is lightly floured (although you want to incorporate as little flour as possible into the dough).
  7. Fold the dough like an envelope. Fold the bottom up 1/3 over the dough. Then fold the left side in 1/3 and the right side over it. Fold the top all the way over the bottom  and pinch it slightly into the bottom.
  8. Turn the dough seam side down and let it sit under an overturned bowl for 20 minutes.
  9. After the 20 minute bench rest, do the final shaping. I usually shape my dough into a boule. To do this, follow the same pattern as the pre-shape, and then gather the corners together to tighten the surface tension and pinch them together.
  10. Put the boule seam side up in a floured branneton or a bowl lined with a floured cloth.
  11. Let the dough sit for half an hour and then put it in the refrigerator for 10-16 hours.
  12. To bake the dough, 30 minutes before baking take the dough out of the refrigerator and preheat the oven with either a stone and a oven-safe pot or a combo cooker.
  13. When the oven is heated, turn the dough onto a peel and score it. Put it onot the stone or into the combo cooker and put the broth pot or lit over it.
  14. Bake for 20 minute sand then remove the lid. Bake for another 20-25 minutes until the outside is an amber color and the interior temperature reads 212 degrees F.
  15. Wait at least 30 minutes before cutting.
Enjoy!

My second loaf was a traditional Country Tartine Loaf. I don't know what happened. It turned out a bit misshapen.
Funny, Mishapen Loaf
Nice Ear

I think I will Yeast Spot this.

Saturday, April 30, 2011

The Scientific Method?

Whole Wheat Loaf
Last week, I made a few loaves that ended up really heavy because the water did not cook all the way out of them. I managed to figure out what the problem was and fix it (although I stumbled on another minor problem). I realized that I had the pot turned open-side up when I was heating it. I this meant that the pot didn't get as hot during the heating process (or at least lost its heat more quickly) and meant that the bread did not cook as quickly under steam. So, I turned the pot open-side down and heated it that way. I also followed the directions and preheated the oven at 500 degrees (475 degrees F convection) before turning it down to 450 degrees (425 degrees F convection) to bake the bread. This seemed to work. The bread was moist and soft without being overly dense like last time.

The bread swelled, but did not spring up as much as I had hoped and ended up with a dip in the middle. I think this is because I did not leave it long enough under steam. It took a lot longer than I expected to reach the internal temperature of 212 degrees F (100 degrees C) than I expected (I had to leave it in for 6 minutes longer than I intended) so I think that if I leave it longer under steam, more of the water might cook out and then it would require less cooking time after removing the steam.
Nice, dark, "burnished" crust
 Looks burnt, but it actually tastes wonderful.
Whole Wheat Bread with the Recipe
Finally managed to get a minor "ear" on the crust
Still need to work on shaping and scoring, but I am getting better.

Yum!
Crumb not as open as I would like.
The loaf did not expand as much as I had hoped, but it tastes absolutely amazing. The toasted flax seeds lend a nice nutty flavor to the bread and the crust is wonderfully crunchy and sweet. The bread recipe is originally from Tartine Bread, and I modified it here.

Friday, April 29, 2011

(Almost) Whole Wheat Country Bread with Toasted Flax Seeds

Finally I am beginning to feel better and my math test is over. So, I am making more bread.

I have been making the Tartine loaves for a while now. With the exception of a problem last week (which I am looking into), I have had a lot of success with it. So I decided to try making it with toasted flax seeds. Flax seeds are awesome. I have a genetic predisposition to high cholesterol and taking flax oil or eating flax seeds helps keep it down. Furthermore, toasted flax seeds have a wonderful nutty flavor. So I decided to incorporate about 1/3 of a cup of toasted flax seeds into my 70% whole wheat loaf. I posted the recipe here. I will post pictures when it comes out of the oven tomorrow morning.
Near the Last Turn
 One of my sheets ripped recently. We washed it and cut it up and I floured it and used it to line the loaf pan that served as the proofing basket for this bread. My shaping technique is still rather poor, especially when forming batards.
Bread Proofing

Update 04/30/11: Bread came out fairly well. Updates here.
Lovely Crust